

While choosing a Blogger template people often gets confused whether this template is potentially free from any kind of malware or the developer have incorporated some malicious scripts. Probably, the ideal way to tackle such malicious templates is to scan them through different tools available on the internet. It is always a good thing to inspect your Blogger site on a daily basis by scanning it for potential malware and etc. In this article, we will discuss a few quick ways on How to Scan Your Blogger site for Potentially Malware scripts.
Sucuri:
Sucuri is a globally recognize and by far the best Blogger security scanner. They offer a Free-to-use tool that scans your site and provides basic information whether there is any potential risk or not. However, if you are too much worried about your site’s security then you must try its Paid version because it provides a lot of in-depth details. To sum things up, after installing Sucuri it would keep an eye on your site 24x7 and would prevent your site from any security threat. Sucuri Blocks the IP of those users who are found doing suspicious activities. Additionally, they also send alert messages if they notice something Fishy going on your site. This does makes sense.
Believe it or not some leading companies like BBC, CNN, PC World, TechCrunch, TheNextWeb and other companies recommend these guys. These guys are too good and know how to handle things when you are away from your site.
VirusTotal Scanner:
VirusTotal is a subsidiary of Google, which is a free service that helps you to analyze suspicious files and URLs enabling you to identify worms, trojans, malwares and other suspicious files incorporated on your site. It allows you to scan your site on different leading antivirus engines and website scanners. Since, it is a Google service so you can rely on it.
To scan your site on VirusTotal, go to https://www.virustotal.com/en/#url and enter the URL of your site. Now as soon as you hit enter it would inspect your site across different leading scanners and would provide you in-depth details about your site’s security, and safety.
Comodo Web Inspector:
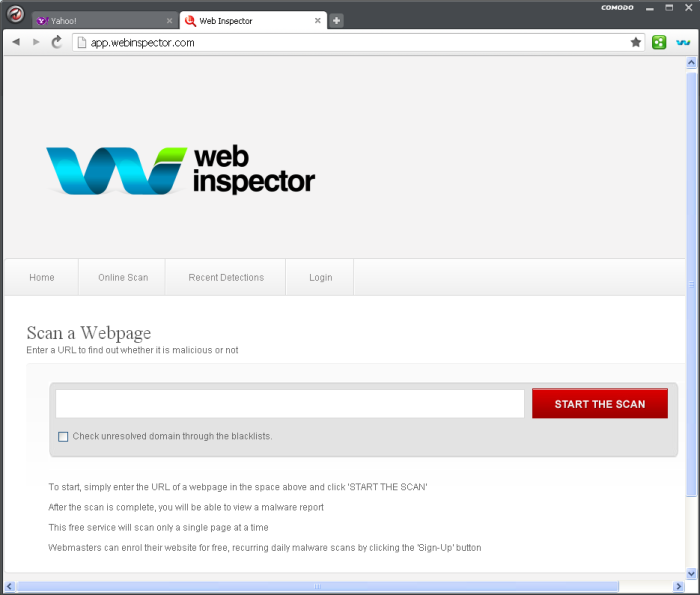
Comodo site inspector is another free tool that does the job quite impressively. It scans your site on the basis of Blacklist Checking, Phishing, Malicious Activity, Malware Downloads and Suspicious Activity. Often hackers target templates to inject links so, it protects your site from any kind of spammy links. Though, it doesn’t provide comprehensive details like Sucuri and VirusTotal but it is worth to check this free tool.
Note: This tool takes a while to scan your site, so please be inpatient when it is working. You can minimize the window and can continue with your work. It would notify you once the scanning is done.
We hope this article would help you to protect your site from any kind of malware or malicious scripts. We want to make this article a great resource for Blogger users, so if you have any better suggestions, then leave them in the comment below.

